
Adding a Child
Adding a Child
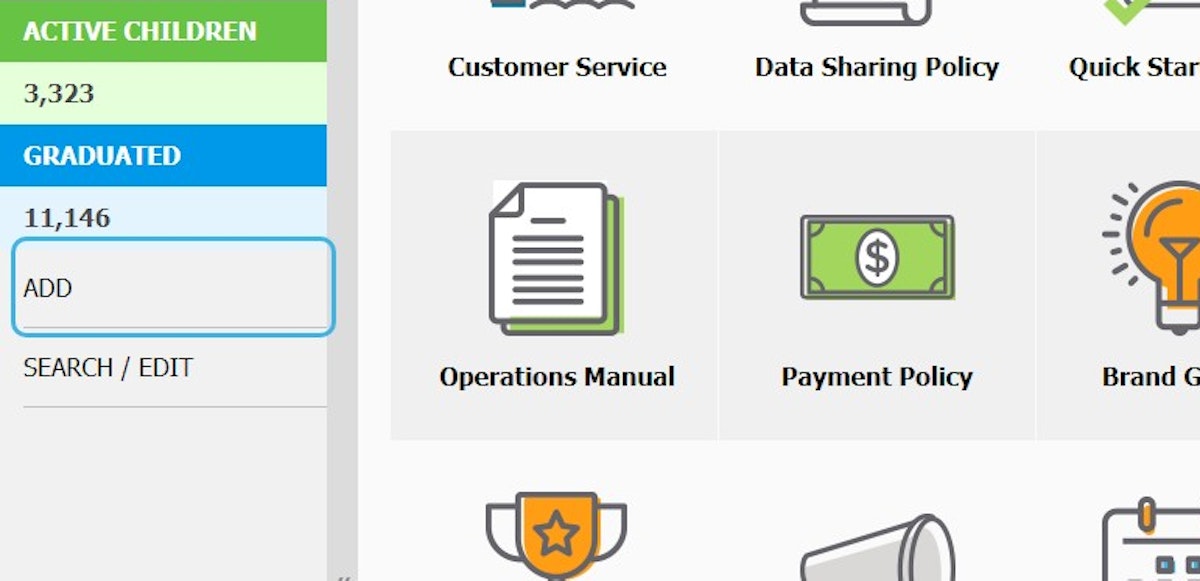
2. You can add a child TWO ways
- Click ADD on the left collapsible menu
3. OR Click on DAILY OPERATIONS
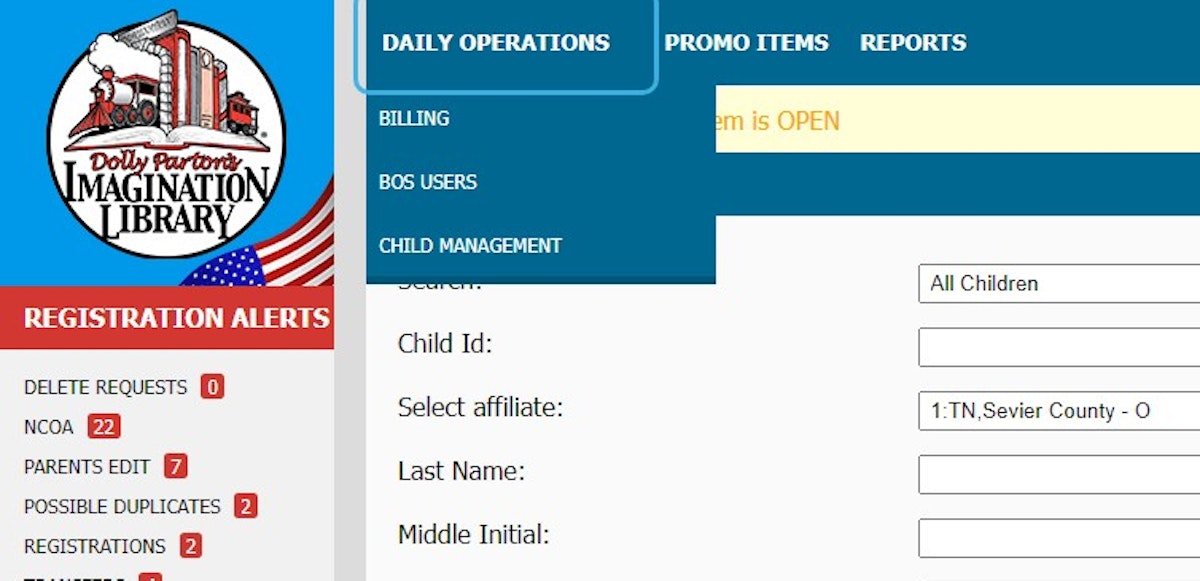
4. Click on CHILD MANAGEMENT
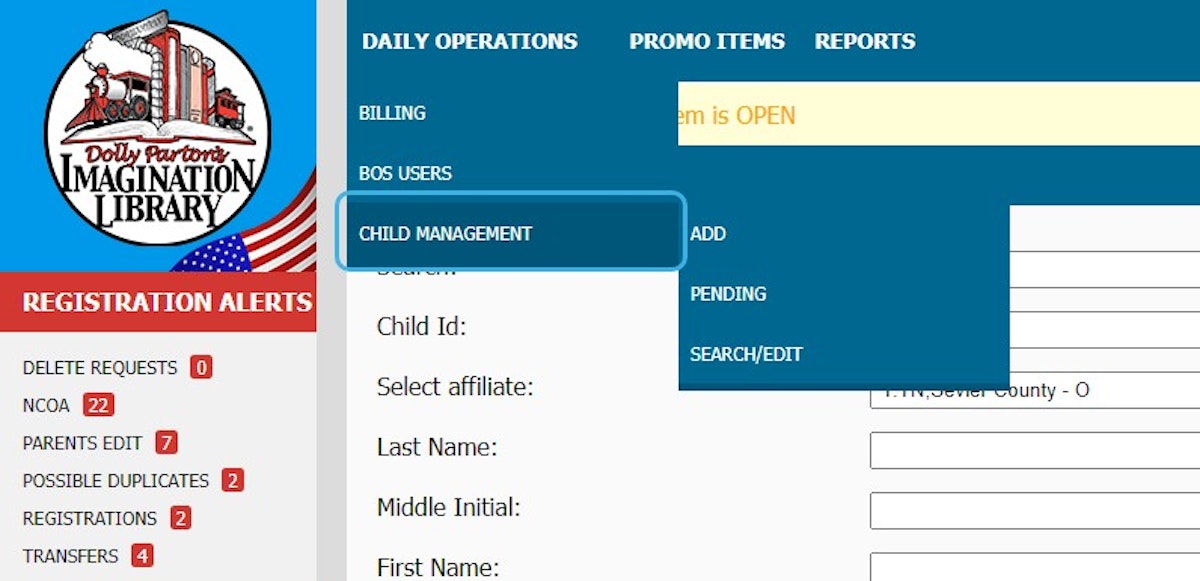
5. Click on ADD
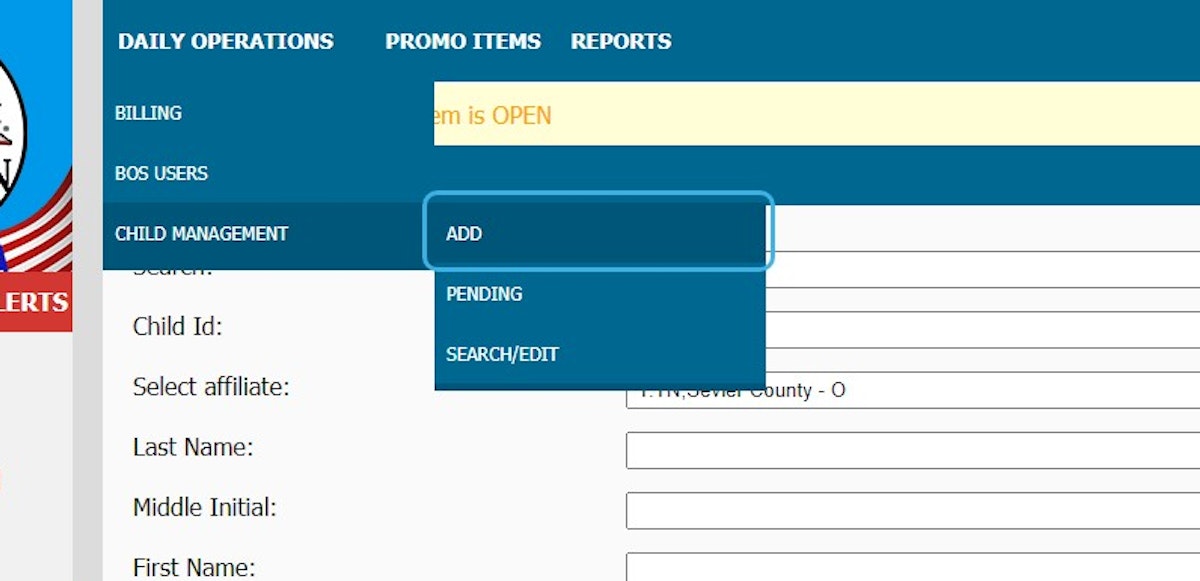
6. Enter child information requested
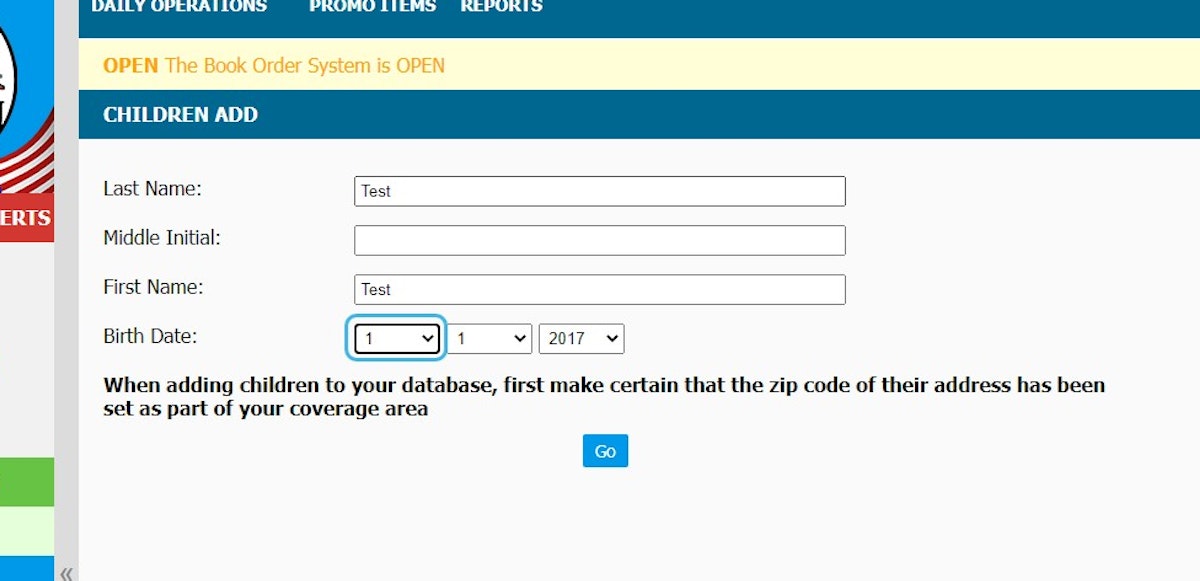
7. Enter birth date
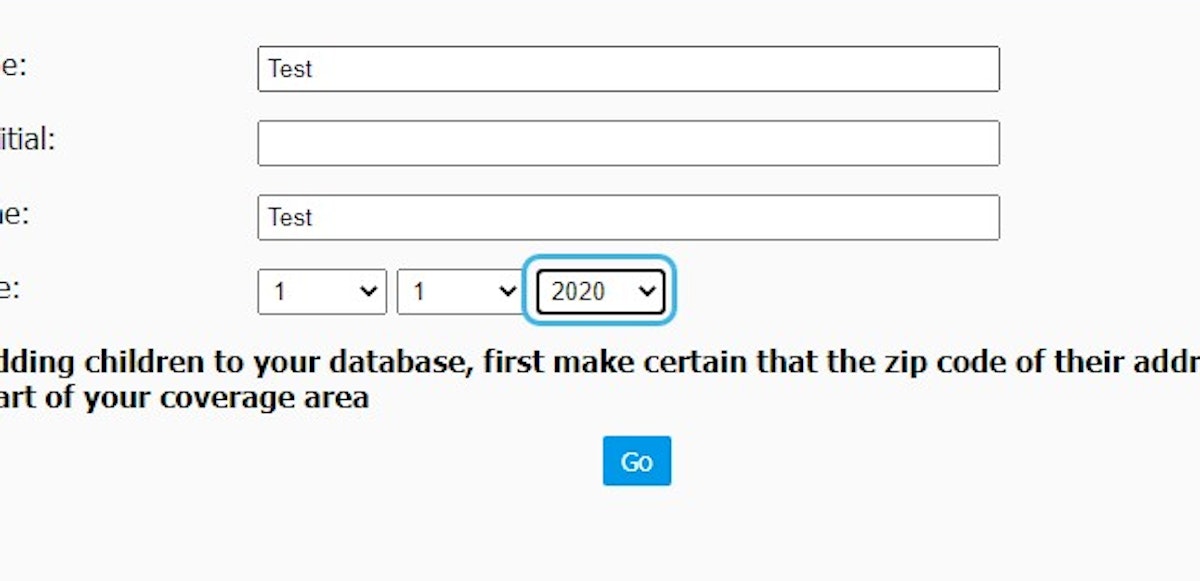
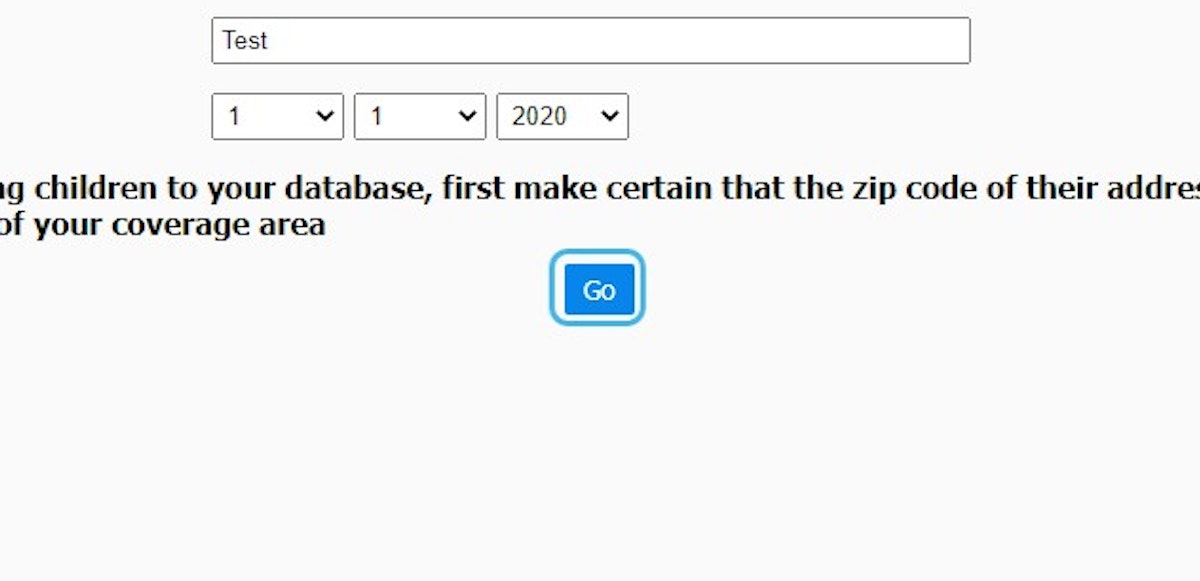
8. Click on Go
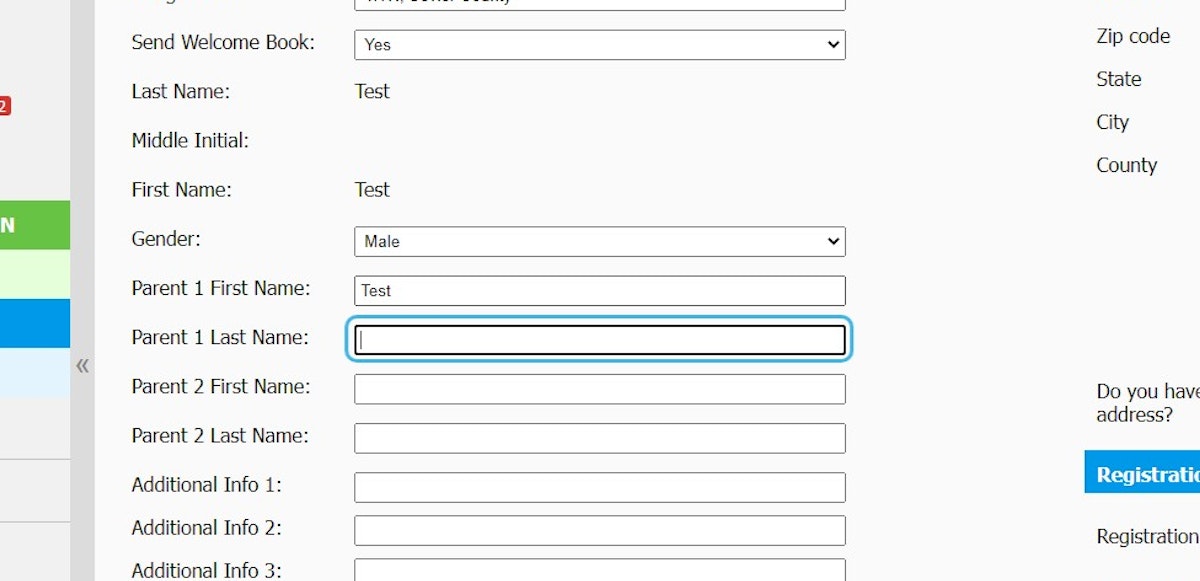
9. Enter Parent information
Adding a parent's email address helps keep a more accurate and up-to-date BOS. Once you save this Child Record, the parent will automatically receive a welcome message with a username and login. This communication is essential for parents who might move, have inquiries about registering future siblings, or need to reach out to the Imagination Library. It is also a great way to share your events, raise awareness, and more.
10. Enter Address
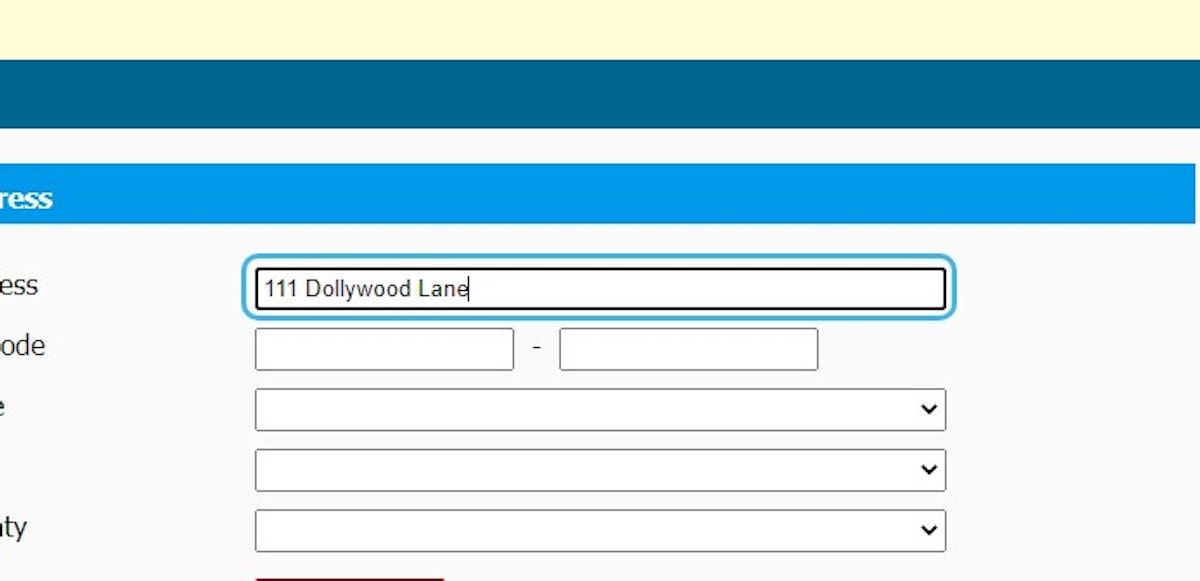
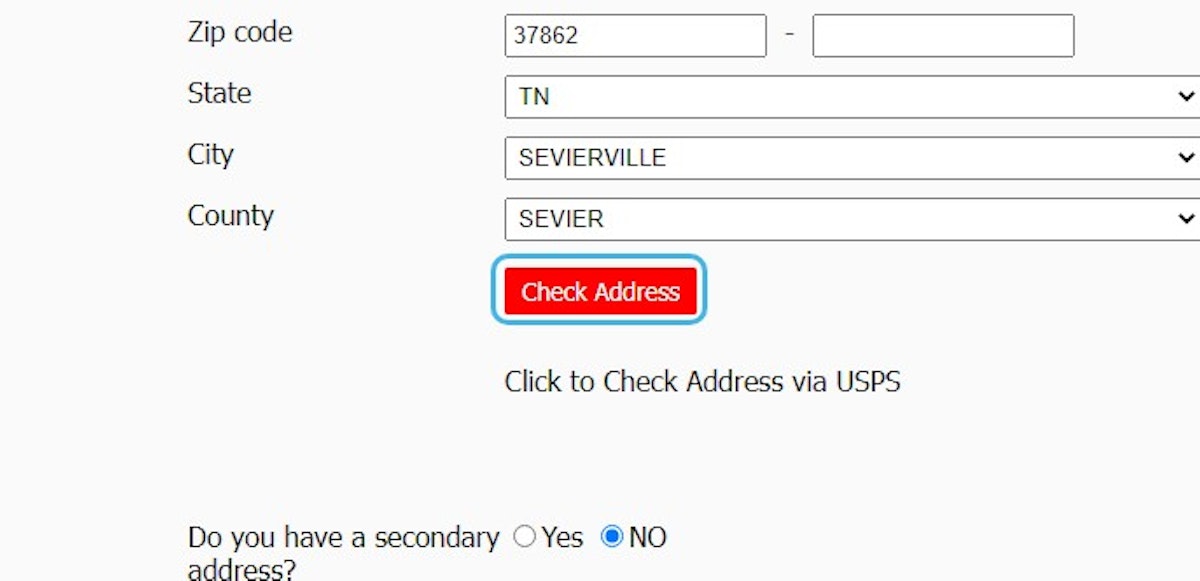
11. Click on Check Address
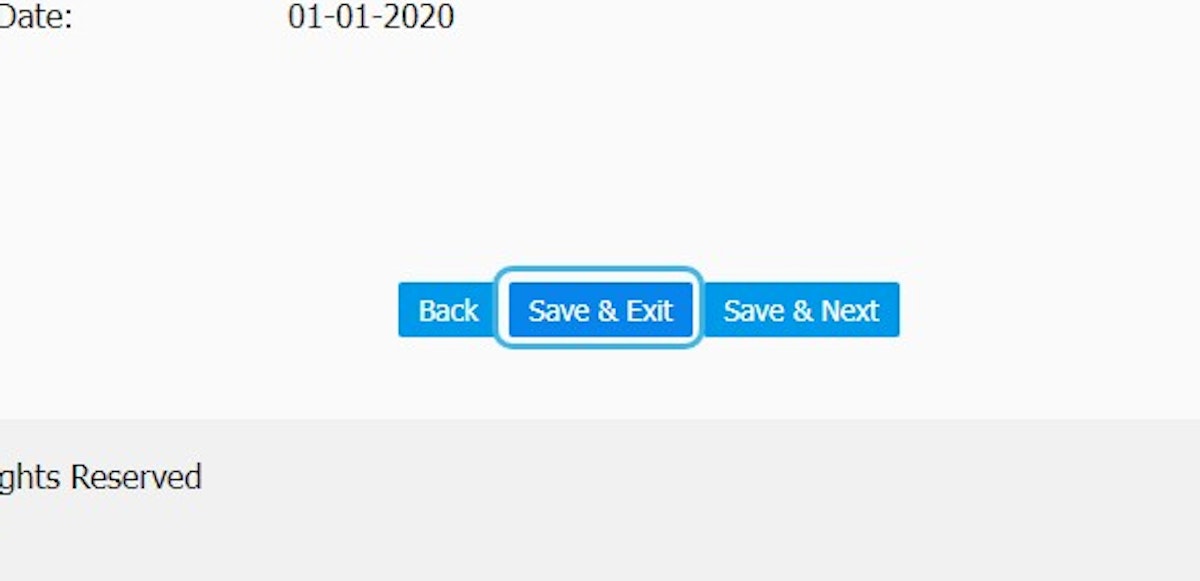
12. Click on exit
Identification
- Child ID: Once the new registration is completed and saved, this field will automatically populate with a unique ID# associated with this child's record.
- Assigned to: This field is automatically populated with your affiliate account information.
- Welcome Book: The Welcome Book field displays YES by default so all children will receive the Welcome Book as their first book. If the child you are entering has already received the Welcome Book, perhaps at a live registration event, you can change this field to NO so that the child will instead, receive an age-appropriate book.
- Last, Middle, First: Child's name fields are filled in from the previous step and cannot be changed since they have already been compared to the database to ensure the child isn't already registered.
- Gender: By default, this field is set to MALE. Be sure to set this field as needed.
- Parents 1 & 2: These fields are for adding parent first and last names. Only one parent's information is required.
- Additional Information 1-4: These fields are optional and can be used for any number of reasons. Some affiliates use these fields to add additional information collected during registration (such as adding the name of the event the child was registered at). If you do not have a need for these fields, simply ignore them.
- Phone: Add the parent's phone number when available. This field is optional.
- Email: Add the parent's email address when available. This field is optional but highly recommended.
- Address: These fields are for adding the mailing address for where the books will be mailed.
- Registration Date: This field is auto-populated with the date the registration is being added to the BOS.
- Registration Type: "Regular" is a normal registration that is entered by affiliates via a printed registration form. "Hosp" is for affiliate programs that register children in the hospital when they are born.
- Birth Date: This field is auto-populated using the child's birth date that was entered and validated during step one.